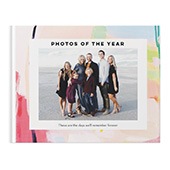
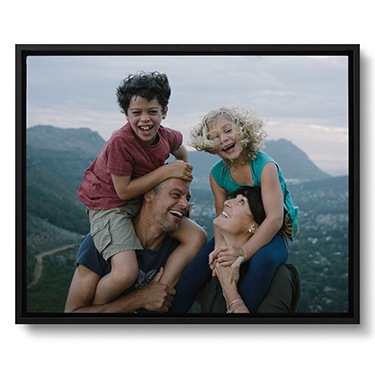
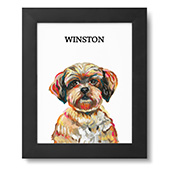
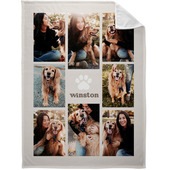
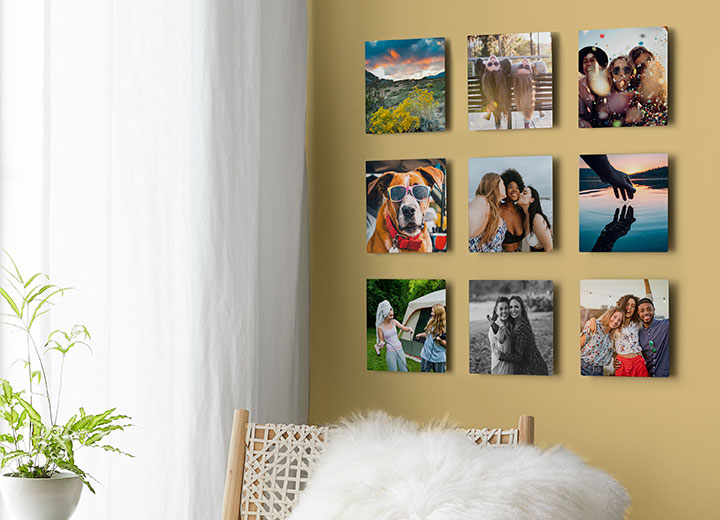
Decorating your home with photos is a wonderful way to showcase cherished memories, but not everyone is keen on the idea of hammering nails into their walls. Whether you’re renting, want to avoid damage, or simply prefer a more flexible approach, there are plenty of creative ways to hang photos without nails. From using adhesive strips and washi tape to exploring modern options like lightweight, adhesive-backed photo tiles, this guide will explore various methods to display your pictures without the need for traditional hardware.
Why Hang Pictures Without Nails?
Hanging photos without nails offers numerous benefits, making it an attractive option for anyone looking to decorate their home:
- Damage-Free Walls: Nails can leave holes and marks on your walls, which can be especially problematic for renters who need to return their space to its original condition. Nail-free methods ensure that your walls remain intact and clean.
- Flexibility: Without nails, you can easily change your photo displays whenever you like. Rearrange, swap out photos, or create a whole new layout without worrying about patching up holes.
- Ease of Installation: Many nail-free options are straightforward and quick to use, often requiring little more than a few minutes of your time.
Nail-Free Methods for Hanging Pictures
Let’s explore some of the most popular and effective ways to hang pictures without nails:
1. Photo Tiles
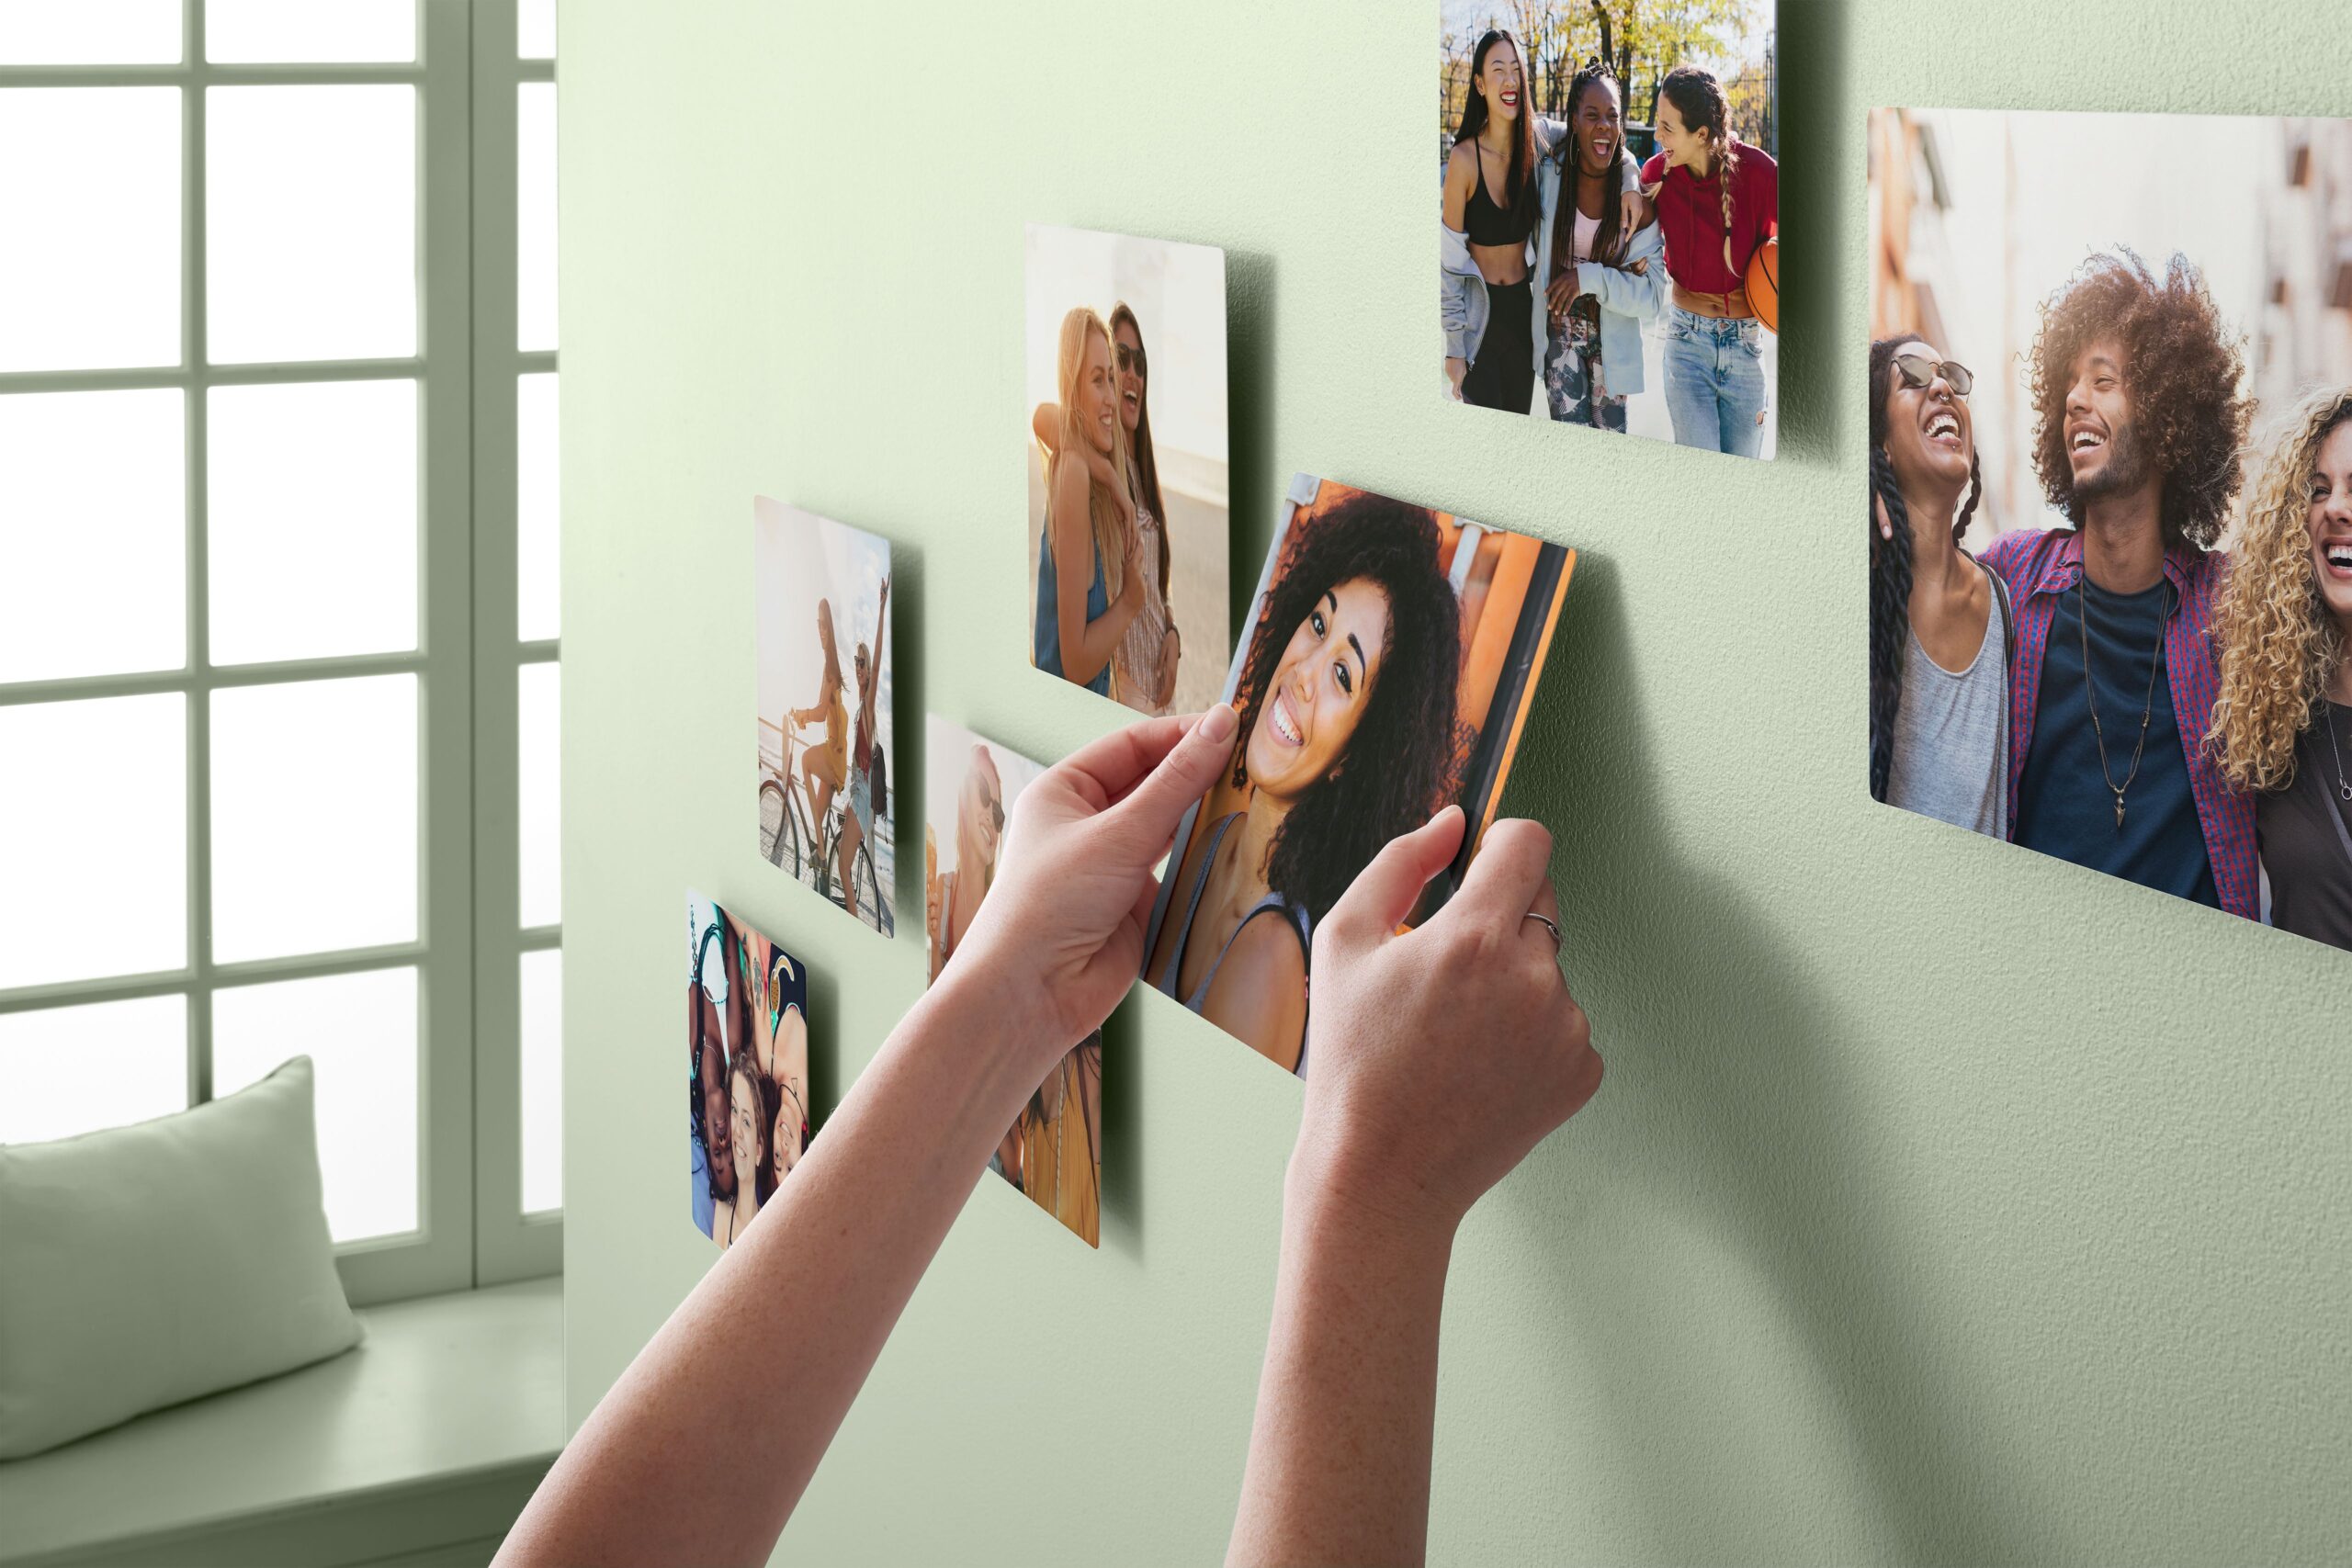
Shutterfly’s stickable photo tiles are an easy and modern way to display your photos without nails. These lightweight tiles come with an adhesive backing, allowing you to apply and reposition them without damaging your walls. They are ideal for creating a gallery wall or adding a personal touch to any space.
- How to Use: Peel off the backing, press the photo tile to the wall, and you’re done. Reposition them anytime for a fresh look.
- Best For: Quick, easy, and customizable photo displays.
2. Adhesive Strips
Adhesive strips, like Command Strips, are one of the most popular methods for hanging pictures without nails. These strips stick to the wall and the back of your photo frame, holding it securely in place. When you’re ready to remove them, they come off cleanly without damaging the paint or leaving residue.
- How to Use: Clean the wall surface with isopropyl alcohol, attach the strips to the frame, press firmly on the wall, and hold for a few seconds.
- Best For: Lightweight frames and small to medium-sized photos.
3. Picture Hanging Hooks
Picture hanging hooks are another great alternative to nails. These hooks are designed with a thin pin that pushes into the wall at an angle, distributing the weight of your photo and leaving only a small, barely noticeable hole.
- How to Use: Mark the spot where you want to hang your photo, insert the hook into the wall, and hang your picture.
- Best For: Heavier frames or larger photos that require additional support.
4. Washi Tape
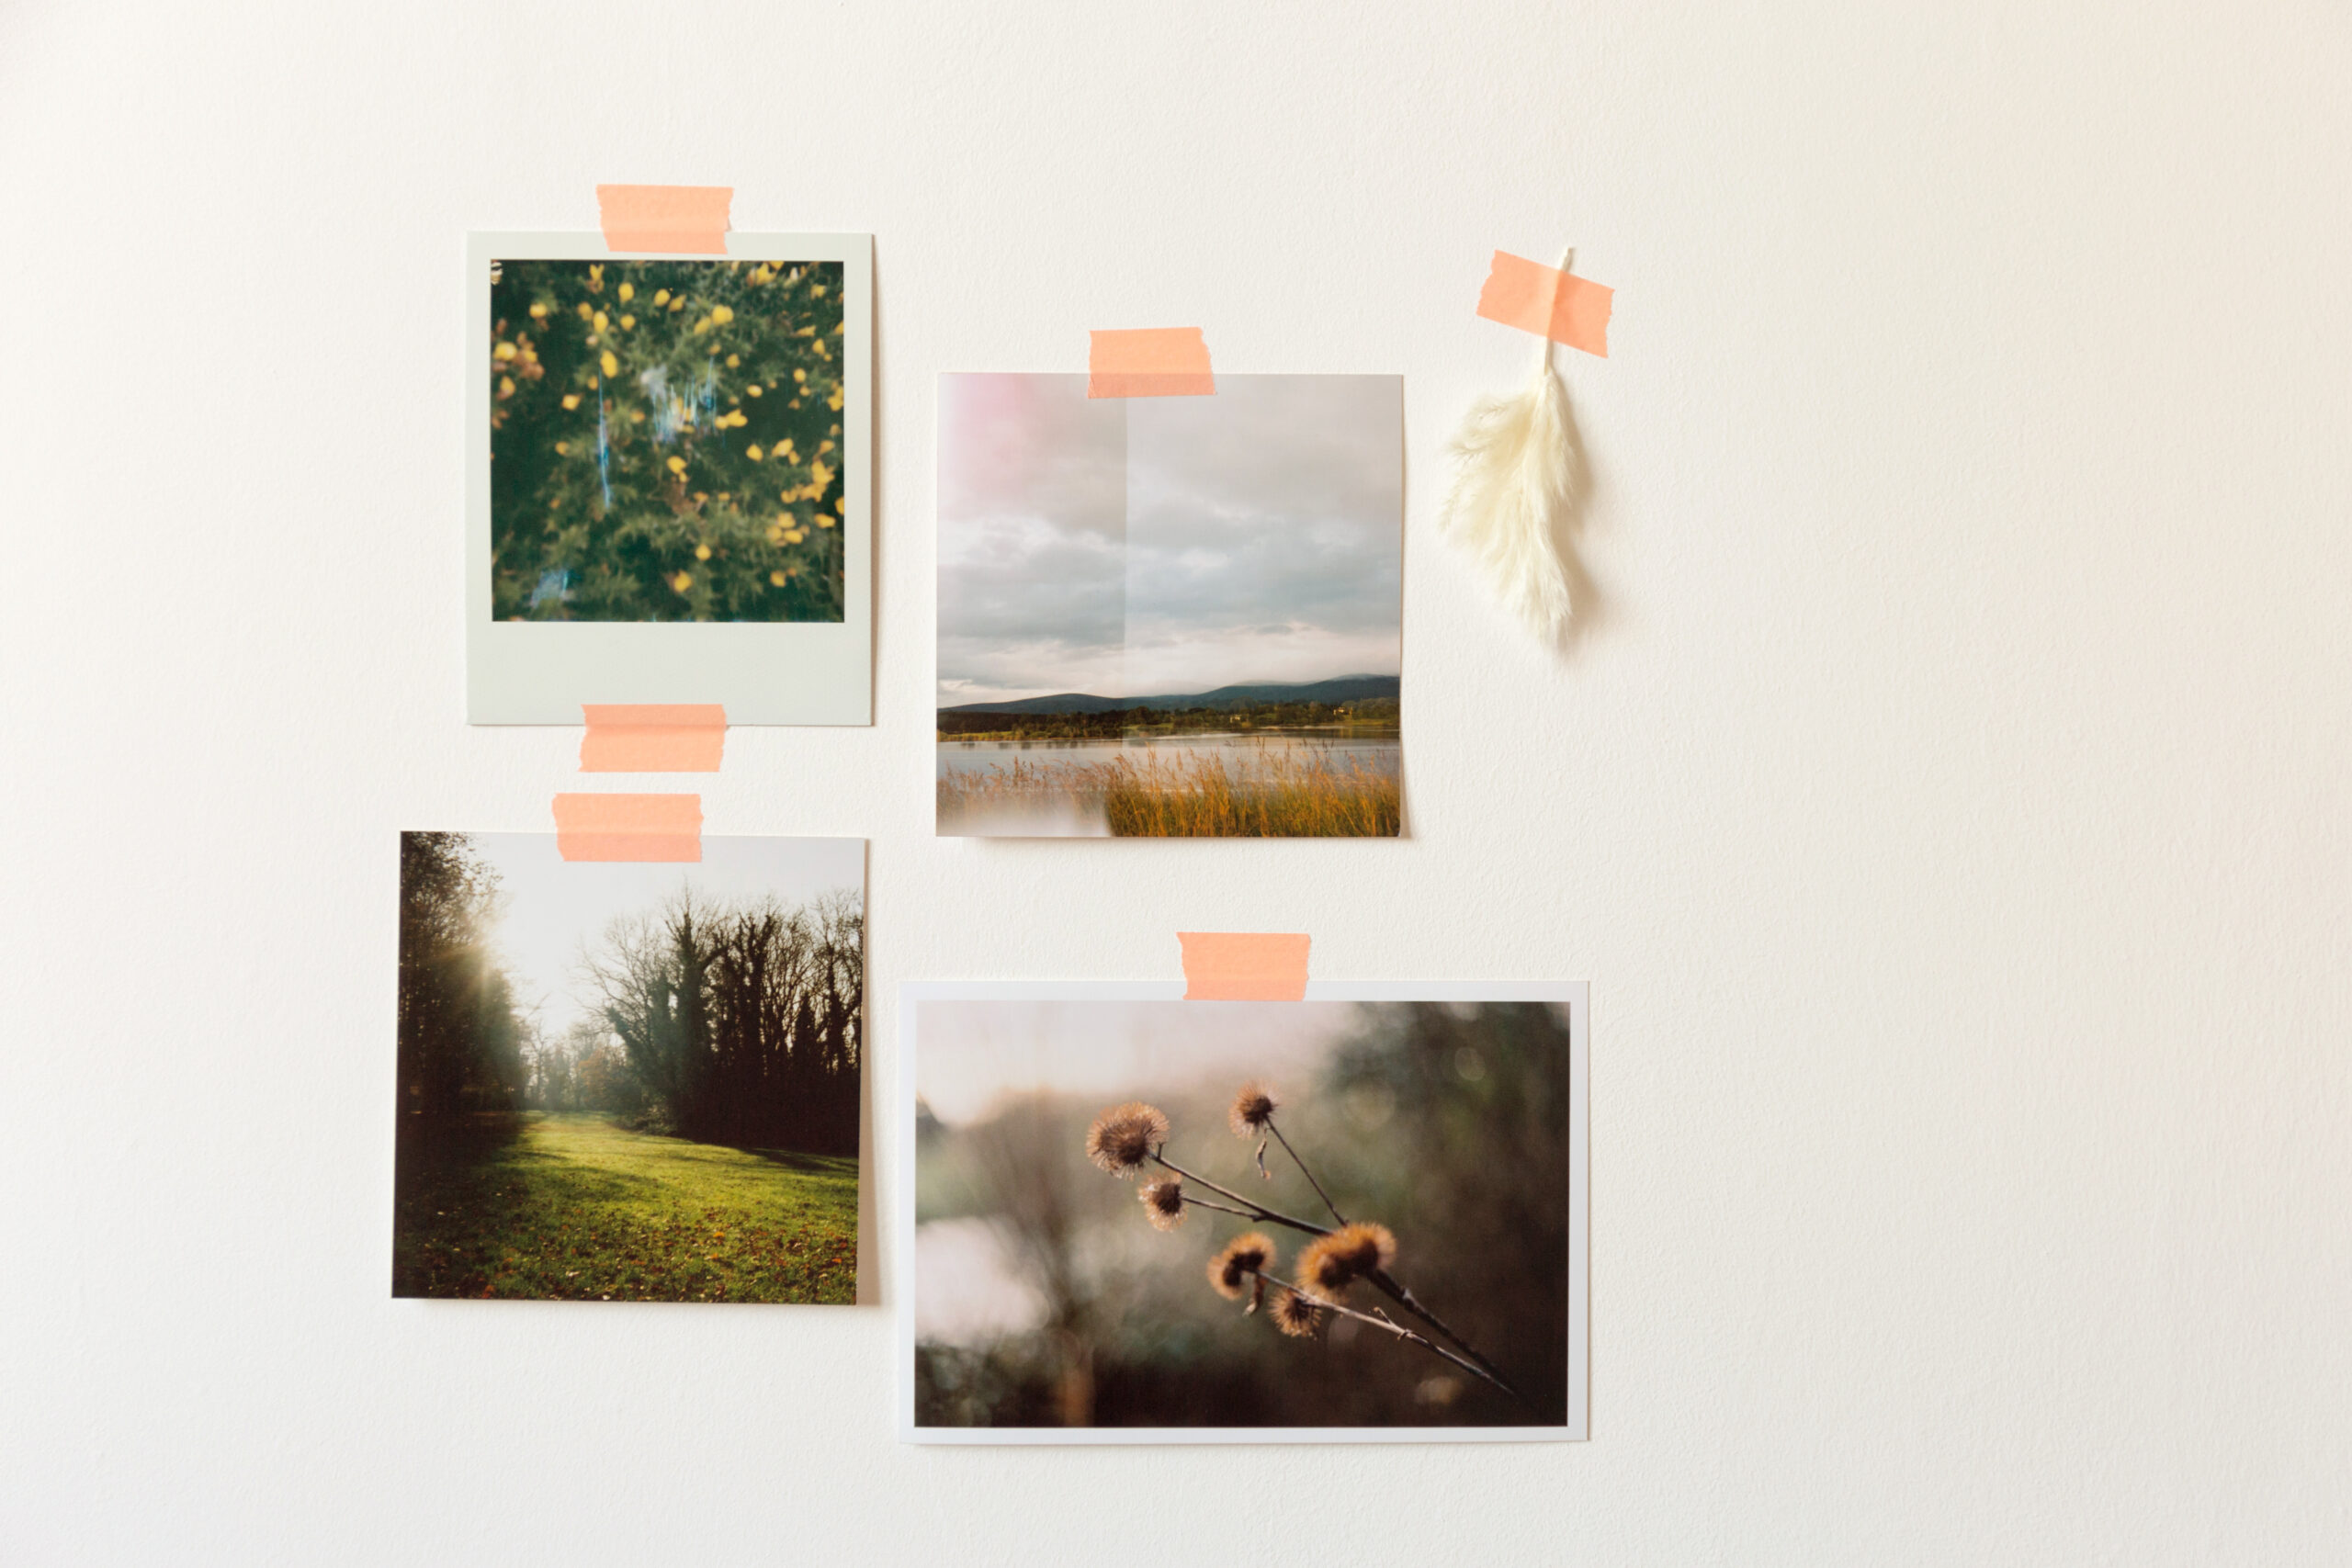
Washi tape is a decorative adhesive tape that’s gentle on walls and perfect for creating casual, artistic photo displays. It’s an excellent option for hanging photo prints, especially if you’re looking to add a pop of color or pattern to your display.
- How to Use: Simply apply the tape to the corners or edges of your photos and stick them directly to the wall.
- Best For: Small photos, polaroids, or creating a collage-style display.
5. Magnetic Paint
Magnetic paint is a fun and innovative way to create a photo wall without any hardware. By painting a section of your wall with magnetic paint, you can use magnets to hang your photos.
- How to Use: Apply the magnetic paint to your desired area, let it dry, and then use small magnets to attach your photos.
- Best For: A unique and versatile display where you can easily swap out photos.
6. Leaning on Shelves
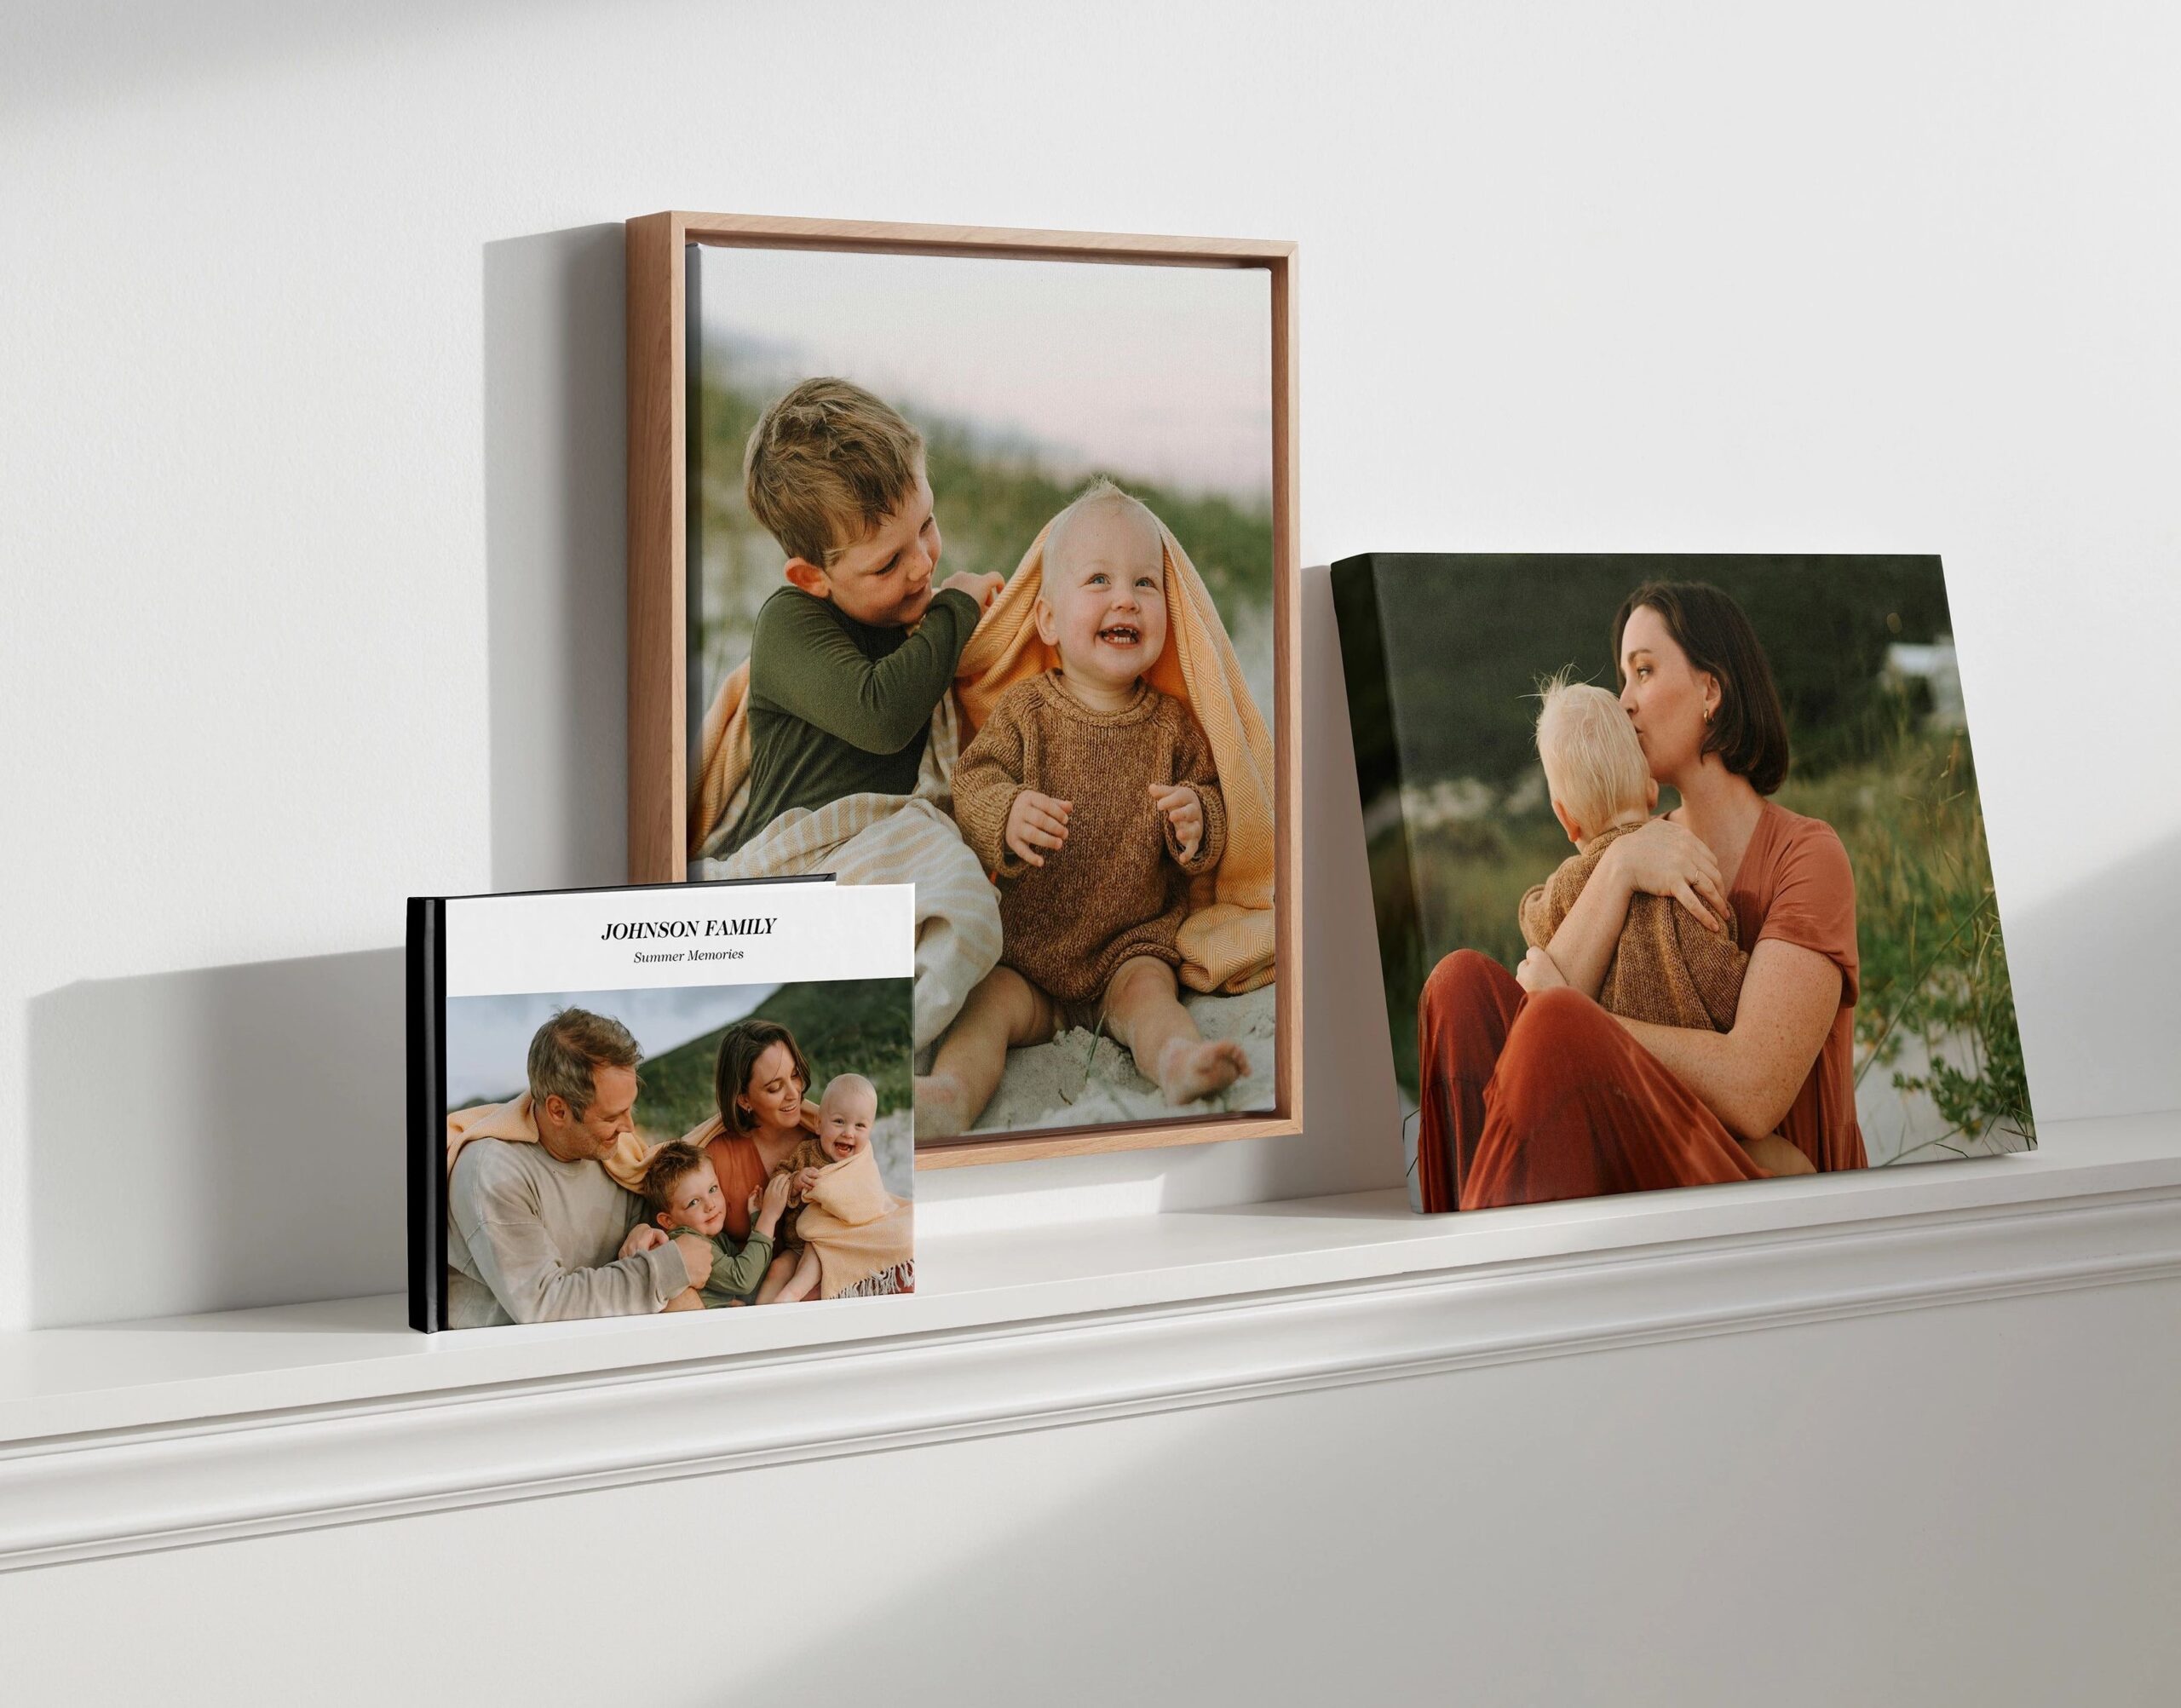
For those who prefer not to hang anything directly on the wall, leaning photos on shelves or mantels is an elegant and sophisticated option. This method adds depth to your decor and allows for easy rearrangement.
- How to Use: Simply place your photo frames on a shelf, mantel, or picture ledge, leaning them against the wall at a slight angle.
- Best For: A mix of photo sizes, creating a layered, gallery-style display.
Tips for Creating a Stunning Photo Display Without Nails
Whether you’re using adhesive strips, washi tape, or photo tiles, here are some tips to help you create a stunning and cohesive photo display:
- Plan Your Layout: Before hanging your photos, lay them out on the floor to plan the arrangement. This will help you visualize the final result and make adjustments as needed.
- Mix and Match Sizes: Combine different photo sizes and orientations to add visual interest to your display. A mix of portrait and landscape photos creates a dynamic look.
- Create a Theme: Choose a theme for your photo display, whether it’s family portraits, travel memories, or a mix of both. Sticking to a theme helps unify the display.
- Incorporate Other Decor: Add other decorative elements like mirrors, artwork, or wall decals to enhance your photo display and make it more unique.
How to Remove Nail-Free Hanging Solutions
When it’s time to update your decor or move out, removing nail-free hanging solutions is a breeze:
- Photo Tiles: Simply pull the tiles off the wall and reapply them elsewhere as desired.
- Adhesive Strips: Gently pull the tab at the bottom of the strip to release it from the wall without leaving any residue.
- Picture Hanging Hooks: Remove the hook and use a small dab of paint or putty to fill the tiny hole if necessary.
- Washi Tape: Peel the tape off carefully to avoid damaging the photo or wall.
Photo Tiles: A Modern Solution for Nail-Free Photo Displays
If you’re looking for a stylish, hassle-free way to hang photos without nails, Shutterfly’s custom photo tiles are an excellent option. These innovative tiles allow you to display your favorite memories without the need for tools, nails, or damage to your walls. Here’s why they’re a standout choice:
Why Choose Photo Tiles?
Photo tiles are lightweight and come with an adhesive backing, making them incredibly easy to install and reposition. Whether you want to create a gallery wall or simply add a few personal touches around your home, photo tiles offer flexibility and convenience.
- Easy Installation: Simply peel off the backing and press the tile onto your wall. No hammers, drills, or nails are required.
- Repositionable: Unlike other adhesive methods, photo tiles can be easily removed and repositioned without losing their stickiness or damaging your walls.
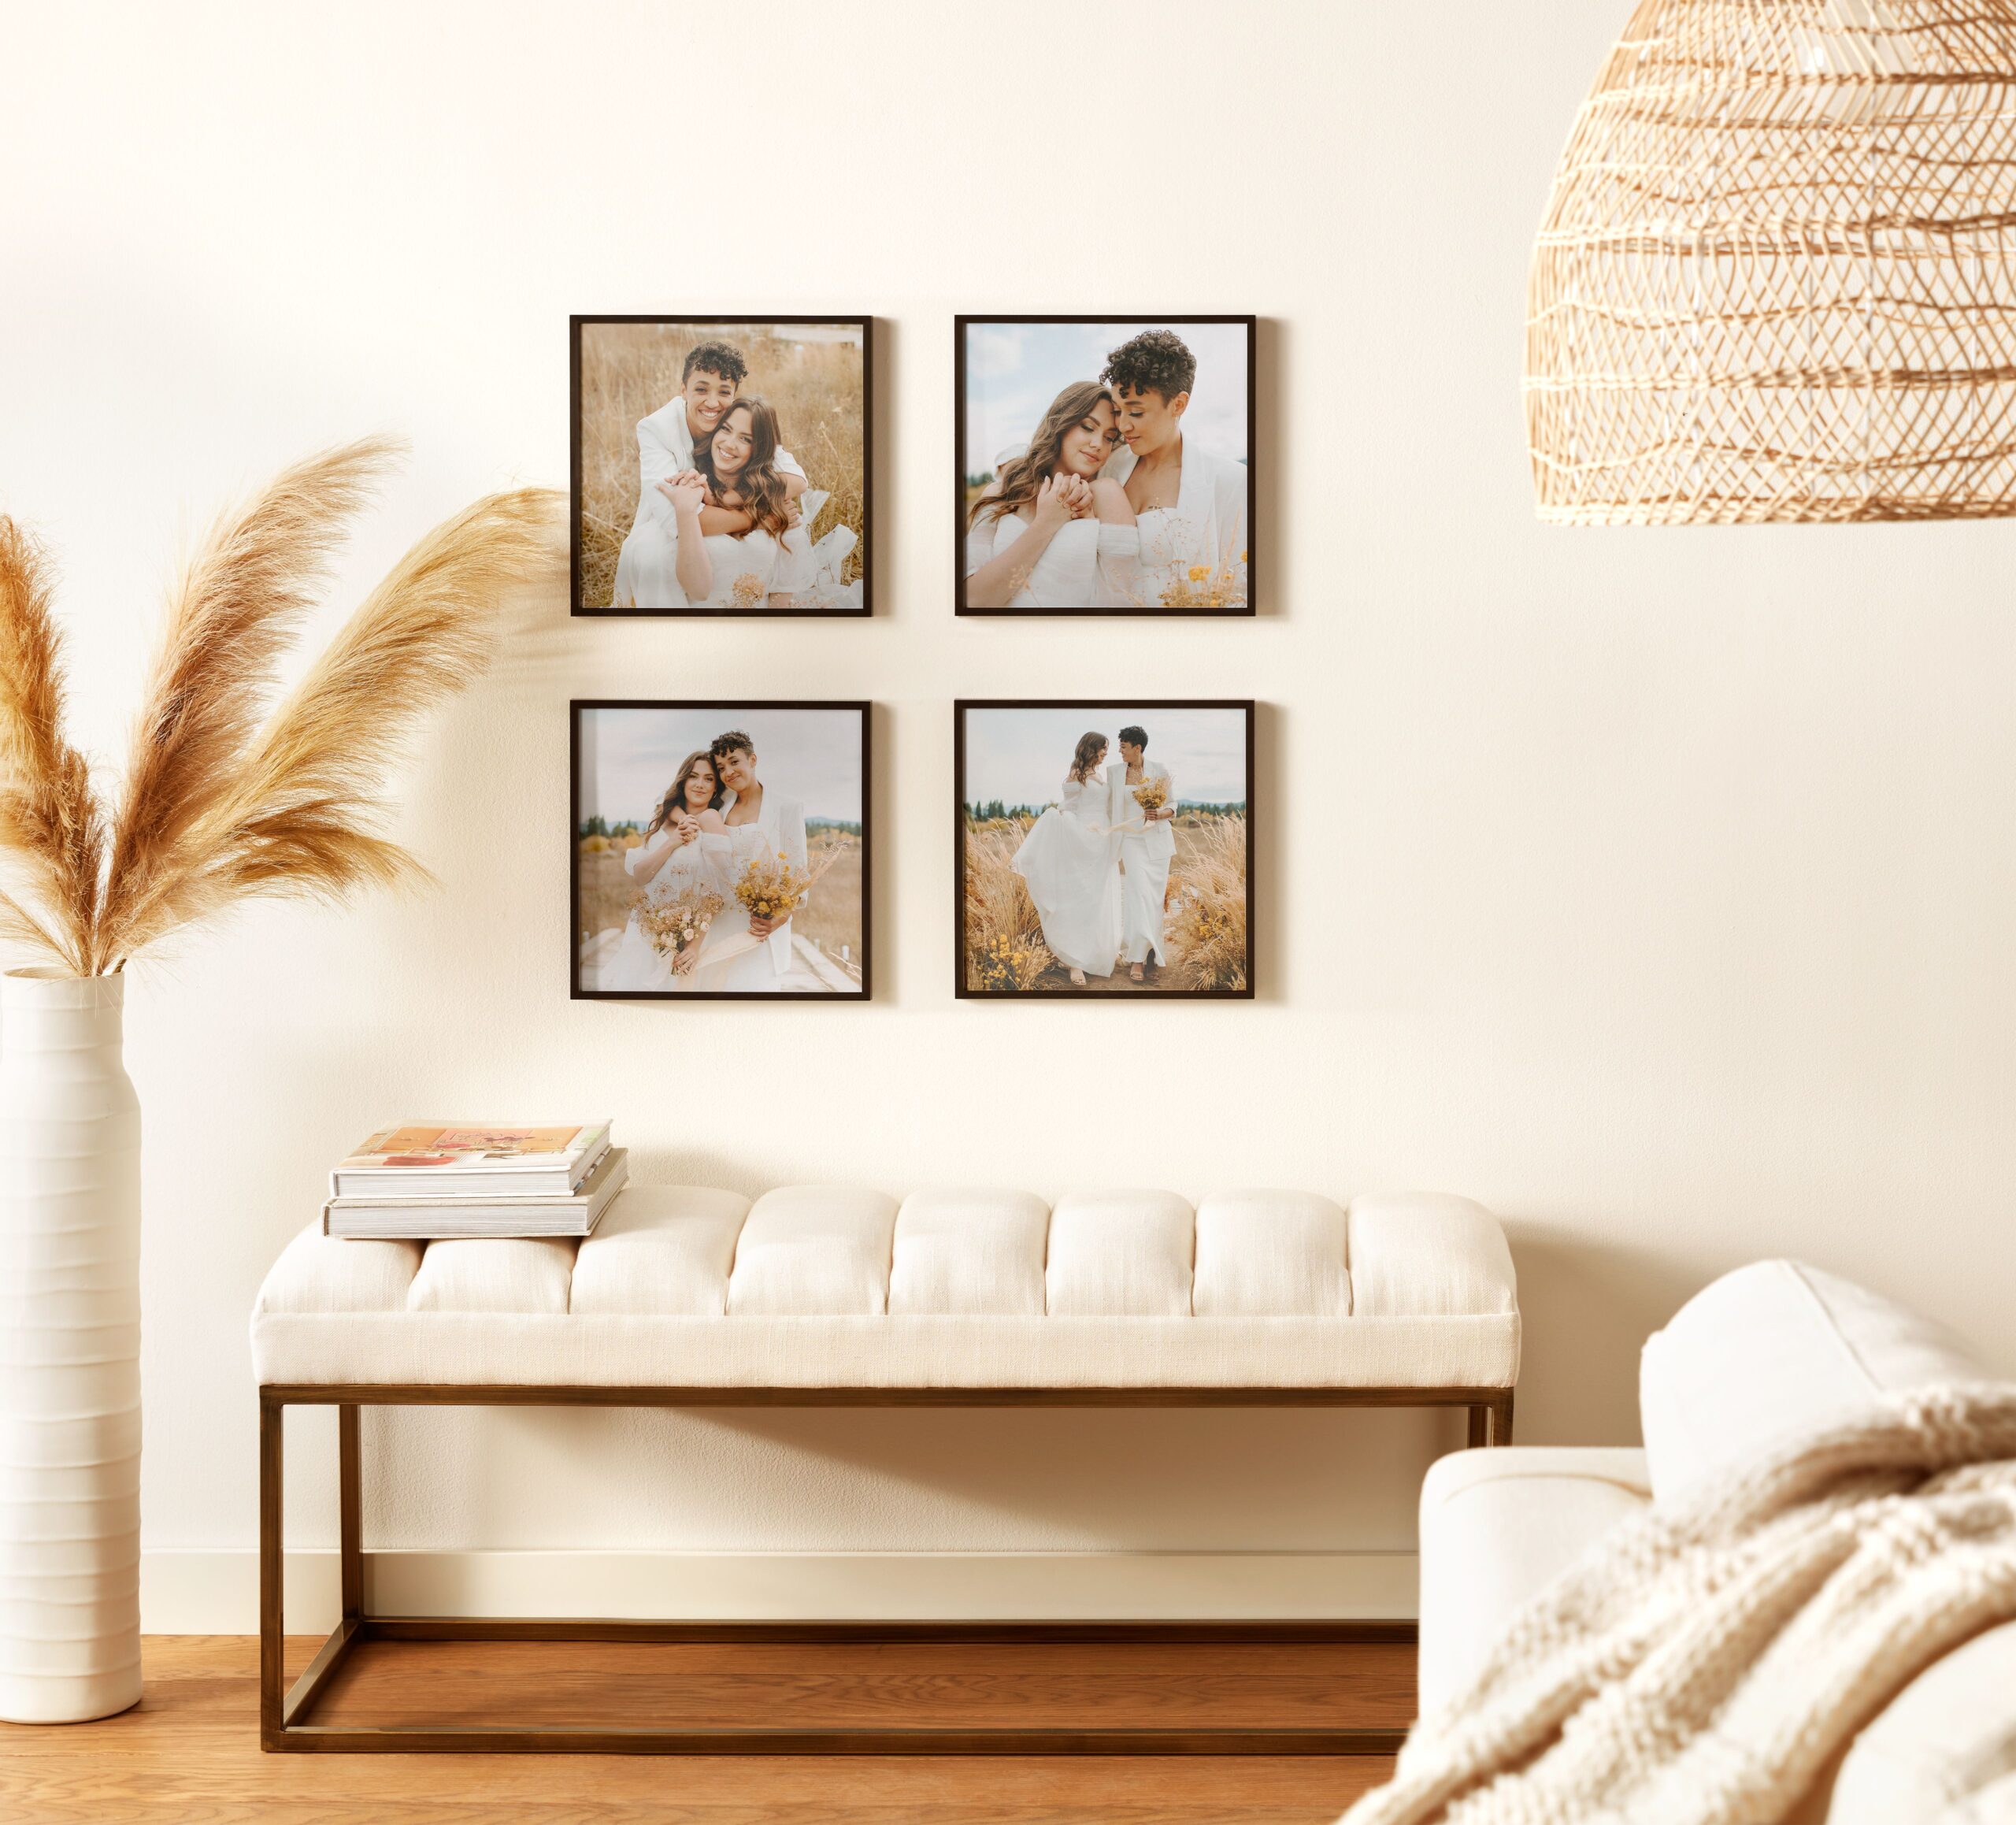
- Customizable: Shutterfly allows you to fully customize your picture tiles with your favorite photos, ensuring your display is uniquely yours. Choose from metal, canvas, and framed options to create wall art that complements the rest of your decor.
Ideal for Any Room
Photo tiles are perfect for any room in your home, from the living room to the bedroom, or even the kitchen. Their versatility makes them suitable for creating themed walls, such as a family photo wall in the hallway or a travel memories gallery in the living room.
Great for Renters
For renters who want to personalize their space without risking damage to the walls, photo tiles are an ideal solution. They allow you to create a beautiful, customized photo display that can be taken down and moved whenever you need.
How to Create a Stunning Photo Tile Display
Start by selecting your favorite photos, choose the layout you desire, and then apply the tiles to the wall. You can even mix and match tiles of different sizes or shapes for a more dynamic look.
Whether you’re decorating a new home or refreshing your current space, Shutterfly’s photo tiles provide a modern, elegant way to hang pictures without nails. Enjoy the freedom to design your space exactly as you envision it, with the flexibility to change your layout whenever inspiration strikes.
Elevate Your Space Without the Damage
Hanging photos without nails is not only practical but also opens up a world of creative possibilities for personalizing your space. Whether you choose adhesive strips, washi tape, or photo tiles, you can enjoy the beauty of your photos without worrying about damage to your walls. Transform your home into a gallery of memories, showcasing the moments that matter most to you in a way that’s both stylish and damage-free.
Additional Resources:

