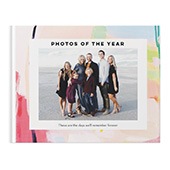
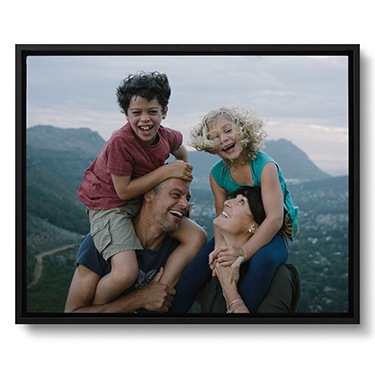
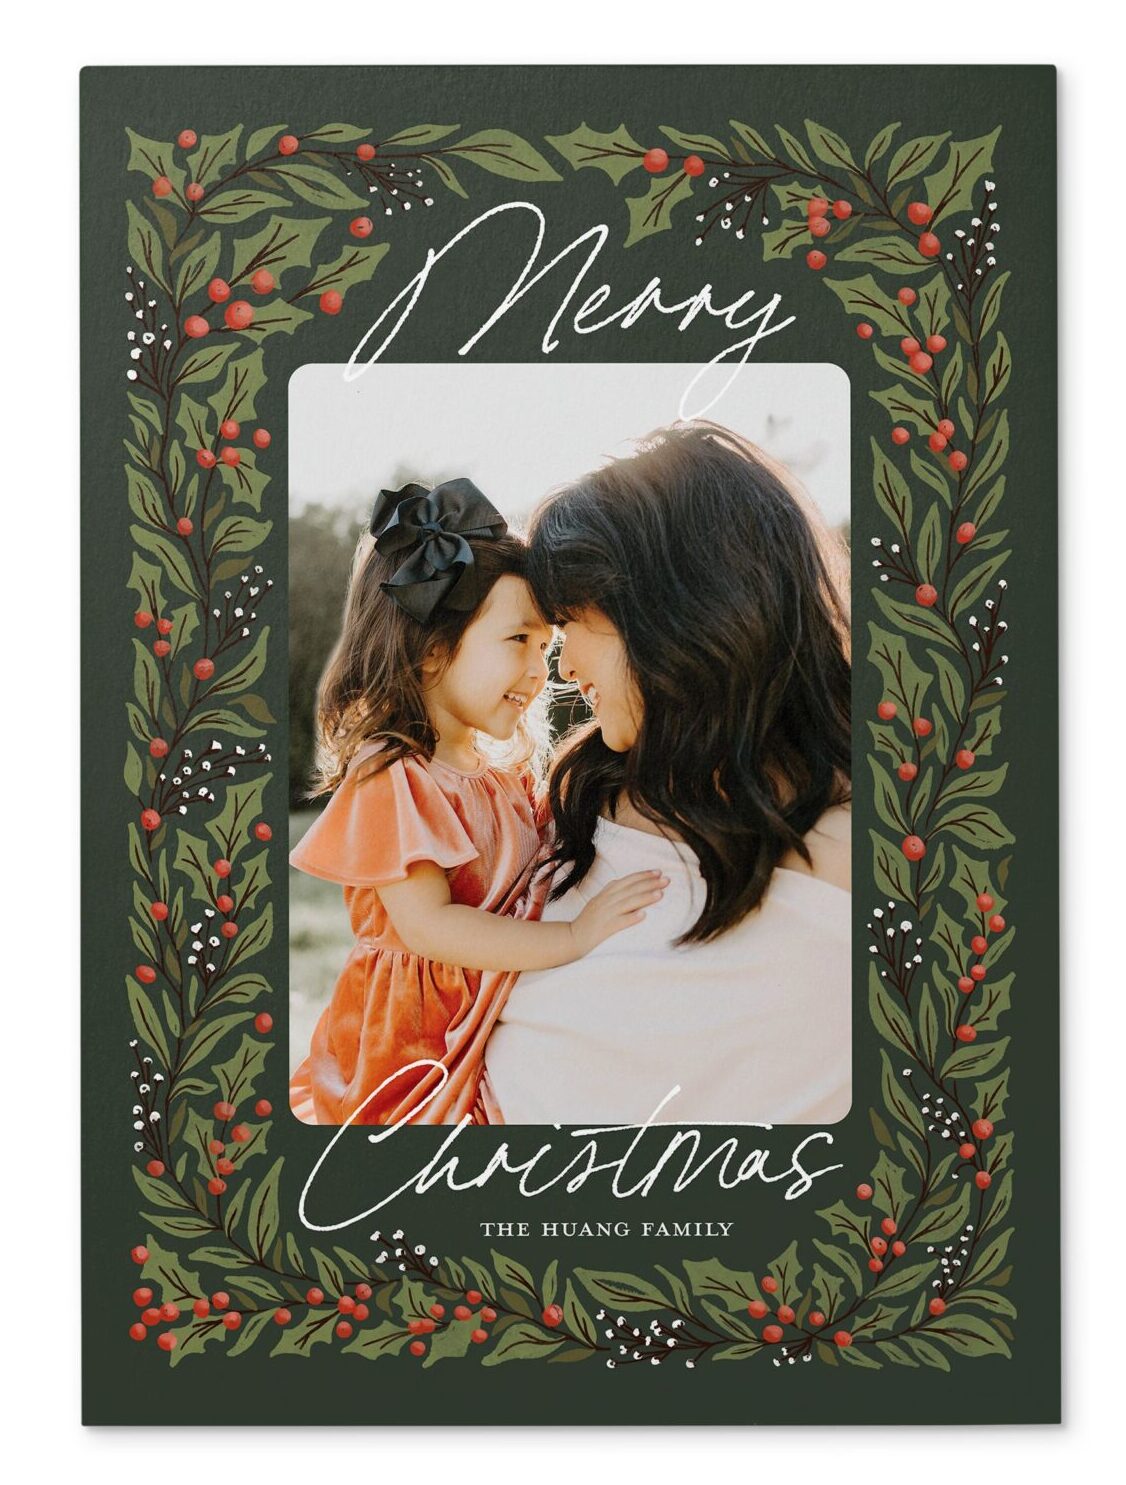
Ideas like heading to the tree farm to document your baby’s first Christmas tree, capturing candid moments of your family decorating the house for the holidays, or even taking the traditional route with a family photo that catches you all dolled up and looking your holiday best. So no matter what you choose, the best photo books, holiday cards, and framed prints show off your one-of-a-kind family. Explore 50 fresh ways to make your family photo ideas shine this holiday season.
1. Use Christmas Props
 Make Santa Beards and hats with paper and wooden skewers, or antlers and red noses. Get creative with poses – be fun and don’t be afraid to get silly. Friends and loved ones will be charmed with delight when they see giggling grins, recently lost teeth, and a little sass. Multi-photo card layouts are great for sharing these mini-stories.
2. Autumn Sun
 Take care of your holiday photos in the cool air of autumn. Head out for a family photoshoot in your best autumnal fall wear for a day on the farm or pumpkin patch. When its time to pick up your pumpkin for Halloween, the fall atmosphere will make a perfect background for your holiday cards.
3. Holiday Baking Adventures
 Throw on some festive hats and matching custom aprons and get the gang into the kitchen to mix up some dough. Candid shots of flour on the nose and kids measuring ingredients could not be cuter.
4. Rustic In Green
 Transform your backyard into the perfect holiday wonderland backdrop for a photo that will look great with a rustic holiday card. Head to the attic and retrieve those tree trimmings. Dangle some personalized ornaments on shrubs and low to the ground trees, hang some tinsel for some added sparkle and shine, and voila – you’ve got yourself the perfect outdoor setting.
5. Deck The Halls
 Decorating the tree with all your best girls this year? Make it jolly (wink!): Grab your favorite holiday beverage and make them extra cheery with customized beer steins and wine glasses. This is the perfect route if you live far from home and you’re planning to do a celebration with friends this year.
6. Among The Trees
 Plan a photoshoot to show off your most glamorous of Christmas wear among a natural setting. Bring along a cozy bright red blanket for a burst of color. Go solo or with a partner, there are lots of ways to make this one special.
7. Family Snuggle
 Don’t worry about grabbing that perfect image of everyone sitting still. Show off the natural energy of your family as you let loose during your photoshoot. You could even get snuggled up together wrapped in a cozy fleece photo blanket.
8. Light and Latkes
 Send light and love with a Hanukkah card that celebrates favorite traditions.
9. Vibrant Reds
 Adorn festive red outfits to pop against the stunning backdrop of a snowy scene. The whole family will stand out even more when bundled together for a group portrait. This is a great idea to evolve over the years—choose a pose you can recreate every year to show a timeline of your family’s growth.
10. Christmas Crowns
 Bring the camera along to your annual Christmas party and capture all your favorite traditions with the whole family. If you can celebrate outside, be sure to showcase the warm winter light. This is also perfect for a holiday season birthday—get pictures of the celebration for a photo book!
11. Festive In Flannel
 Flannel is always a stylish favorite, especially when you can dress your little ones in matching patterns. Keep it casual with a winter stroll and match the kiddos in cozy flannel dresses. You can even select a flannel-themed holiday card to match your photo.
12. Cityscape Christmas
 Celebrating Christmas in the big city? Take advantage of the unique streets and brick backgrounds for stylish and urban photo shoot.
13. Minimal and Modern Aesthetics
 Brick and solid colored walls make for the perfect backdrop to let personalities shine through.
14. Capture Sleeping Babies
 They’re squishy, and poseable (most of the time)—perfect for posing next to a gift box with a Santa Hat on, or across a festive personalized pillow. For added flare – add some twinkling Christmas Lights in the background. Baby’s Christmas cards are especially great if you’re celebrating a Christmas birthday.
15. Storybook Time
 Capture your little one reading My Night Before Christmas Personalized Story Book in front of the Christmas tree.
16. Tangled Up
 If you’re putting together a DIY photo album, play with fun themes like Christmas lights and snowflakes. Use a string of lights as a photo prop to brighten up your images.
17. Sunlit Fun
 Capture the height of winter sun just before dusk by heading out for a cozy walk with the camera. Wear subtle earth tones to blend with your winter surroundings and reflect the light. This is perfect for a climate that doesn’t get snow in the winter.
18. Let It Snow
 If you’re lucky enough to catch some snow during your photoshoot, head out in a vibrant festive outfit to stand out against the white wall of winter. This is the perfect pose for a newly engaged or married couple as well—commemorate your first Christmas together!
19. Bring The Pup
 Head out into the snow with your furry family member and be sure to roll with whatever photo opportunities arise as you frolic around the park or the tree farm.
20. Snowy Scene
 Snap the kids having a blast in the snow for photos that will look incredible on your family’s Christmas card.
21. Out For A Walk
 Everyone needs to let off some energy around the holidays. Dress up in your holiday best and head out for a country walk hand in hand.
22. First Snowfall
 When the first snowflakes of the season start to fall, head out with the kids and capture all their moments of wonder. This is a great opening series in your photo album.
23. Shining Bright
 Incorporate something that will light up your holiday pictures- like sparklers or Christmas string lights.
24. Display The Ring
 Getting ready to tie the knot? Use your engagement photos for your personalized Christmas cards this year by heading out for a snowy walk. Be sure to show off the new ring in a well-planned pose.
25. Reach Into Your Archives
 You’ve probably been snapping moments all year – now it’s time get them off your roll and onto your sweetest Hanukkah card yet.
26. Festive Props
 Set up an adorable scenario for Christmas photos of your toddler by surrounding her with fun and festive props from the season.
27. Santa Hats
 Need a go-to way to add some festivity to your Christmas photo album? Pop on a Santa hat and snuggle up around all your personalized and DIY Christmas decorations.
28. Gift Reveal
 Want to capture their look of surprise the moment they open that special present? Set your family photoshoot ideas around Christmas morning to commemorate their priceless reactions. Always have your camera ready!
29. Show Your Monogram
 Nothing says “Christmas” like having your favorite hot beverage in a mug or cup! And what better way to keep your hands cozy than a lovely monogrammed mug? Personalized mugs make excellent props for Christmas photos. Fill them up with hot chocolate and a tower of whipped cream for a festive photo pose.
30. Capture Joy
 Spread love and laughter with candid shots that showcase your family’s personality. Add extra sparkle with foil and glitter accents to your Kwanzaa card this year.
31. Pull The Sleigh
 Dogs are excellent models, especially when they have the chance to get a little silly. Make your dog a part of the tree-cutting experience and showcase every fun moment in a pet-themed photo book.
32. Dark Outfits Let Scenery Shine
 Let the colors of the scenery shine through while you and the family wear deep and cozy fabrics like wool and velvet. Match your little one in the photo with mom or dad for extra cuteness.
33. Family Outfit
 Start a family tradition by breaking out matching Christmas outfits for a photoshoot the kids will always look forward to. As the years go by, you can compile them into a photo book to cherish the memories.
34. Create A Unique Sentiment:
 Use a simple chalkboard sign to showcase your custom greetings.
35. A Night At Home
 What setting represents your family more than cozying up in your living room? Start a fire in the fireplace, set up a play area and gather the family with cozy blankets for a casual yet timeless photo.
36. Sweet And Sparkly
 Do your kids love playing dress-up? Let them pick out their favorite sequined dress and theme the backdrop of the photo off of their sparkly selection. Select a glitter holiday card to really make the photo shine.
37. Catch The Magic
 Capture your toddler putting on the final Christmas ornament on your tree and all the small moments of wonder as you venture through the decorations. Be sure to catch the magic hour light just before sunset.
38. Letter To Santa
 What’s sweeter than capturing your child’s letter to Santa? Snap a shot of them writing and reading the note before they send it to the North Pole.
39. Catch The Romance
 Pair a combination of cuddly shots during a snowy walk for a couple’s Christmas photoshoot. This is especially timely if you’re announcing your engagement in your custom holiday cards.
40. Shades of Red
 Need an easy outfit for your Christmas photo ideas? Dress everyone in one item in a different shade of red. Your little one will stand out even more in a bright red festive sweater.
41. Best Dressed
 This family photo idea captures a family ready to celebrate in their holiday best. A great photo to showcase in your New Year’s cards.
42. Cozy Christmas
 Capture your annual outdoor Christmas traditions like going to pick up the wreath or enjoying a warm cup of hot chocolate by the fire pit.
43. Baby Announcement
 Looking for a unique photoshoot idea that doubles as a new baby announcement? Snap a shot of your belly while you take Christmas photos to adorn your holiday card.
44. Sibling Fun
 Let your kids walk through a farm to pick out your next Christmas tree. Catch all the sweet moments as pose throughout the collection of trees.
45. Holiday Outfits
 How can you show off your favorite holiday ensembles? Get the little one in your family in on the fun by dressing them up in a matching outfit for a photo. Then showcase them enjoying their new gift on the big day!
46. Keep It Silly
 If your kids are bursting with energy, skip the posed seated photos and let them show off their big personalities. Keep the background nice and simple to keep the focus on your family.
47. Coordinated Color Scheme
 Choose two Christmas colors like red and navy blue to base your family photo ideas around. Alternate you poses so you balance out the color of your clothing and pop against the snowy scene.
48. Favorite Film
 Look back on your kid’s favorite Christmas movies by capturing a shot of them engrossed in the story. This is a great way to document your Christmas tree decorations each year as well.
49. Pets In The Picture
 Dress up your dog or kitty to take part in the Christmas photoshoot. Dress them up in festive outfits and pet tags to add that special touch. This is especially heartfelt when you can capture your little ones bonding with your pets in matching colors.
50. Christmas Jammies
 Wear your matching set of pajamas for a set of photos that shows off your family fun, either with just the two of your or the whole household.
Wrapping Up
If you’re looking for a great gift for mom and dad this season, consider compiling your Christmas images in a photo book. Add details throughout the book about all your holiday stories, including Christmas party themes, fun stories and special gifts. Add on a custom Christmas photo card that will be sure to make mom and dad smile.


